Paper Gears, Part I(ish)
In late spring, I took a class on pop-up books. It was a lot of fun, and although I made a good start at trying things out, work and life interfered (as always.) However, a side exploration was to see if it was possible to make a gear train out of paper.
For background, I had the idea to make a copy of the Antikythera Mechanism for [TMINLWTM]’s birthday. At first, I thought it would be with wood gears on a laser cutter, but the Antikythera mechanism is back-driven, which makes it a bad candidate for any mechanism with a lot of friction. There are other pieces that are not good candidates for wood construction. At the same time, as I was watching any number of YouTube videos, I realized I didn’t understand how it works. That made me wwonder if I could do a book that explains the mechanisms, with each spread having real gears that could move.
My first attempt used hand-cut gears and hand-cut axles for them to rotate on. I have pictures of this, but it did not work very well. My xacto knife accuracy is not what it needed to be, so the teeth did not mesh particularly well. I was also using paper axles, glued on the gear; again, these were barely circular, and not really centered.
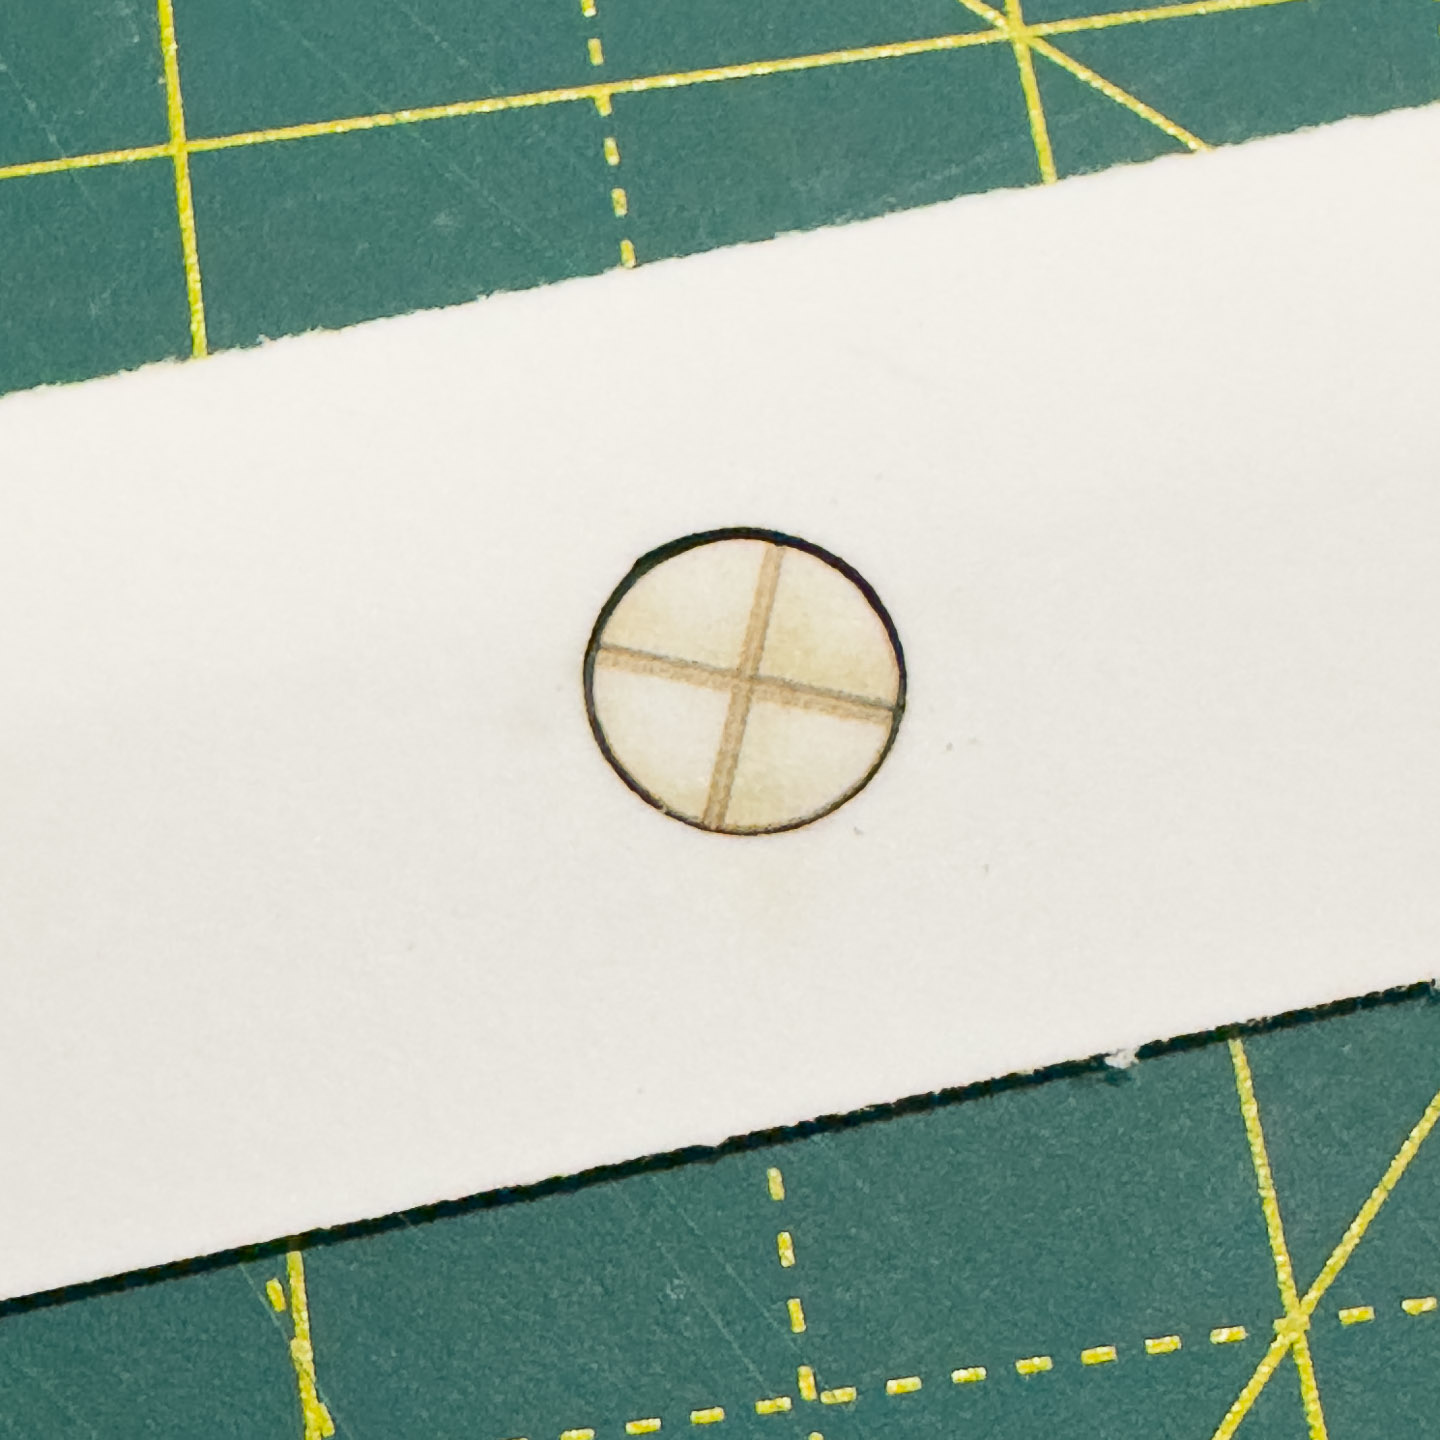
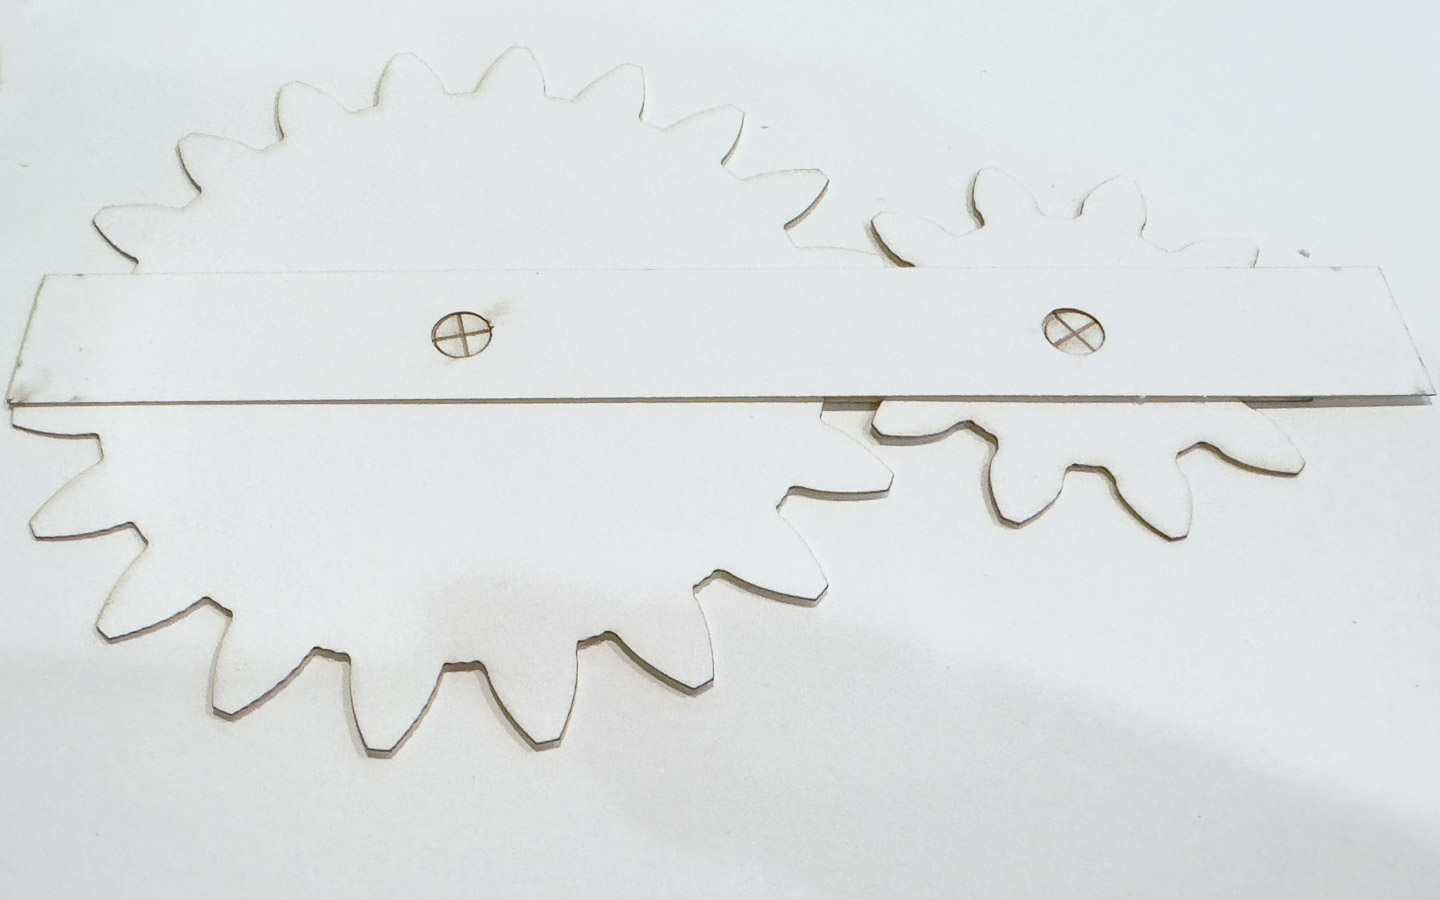
I joined the Seattle Makers two weeks ago, and now have access to a laser cutter. I decided to try this again, with better tools. The very first version was very simple: two gears meshing together, on two axles. I used Evolvent Design’s Spur Gear Generator to do the gear drawing, and then cleaned it up in Inkscape1. Also in Inkscape, I made the “brushings” or “bearings” for the gears.2, as well as paper axles of various sizes. Thew final SVG file is here.
I tried the design on two papers: first, a Neenah Classic Crest at 216gsm, and second, a Blick brand hot-press watercolor paper, at 300gsm. The Classic Crest didn’t work very well: it was too light to be able to etch / engrave, and it was too thin for the teeth to mesh reliably. Even at the fastest speed and lowest power, the Classic Crest cut rather than eteched. But, it was definitely worth testing. I learned I should only come back to it once I fully understand how to make things work with the watercolor paper. There may even be a place to move up to a bristol board..
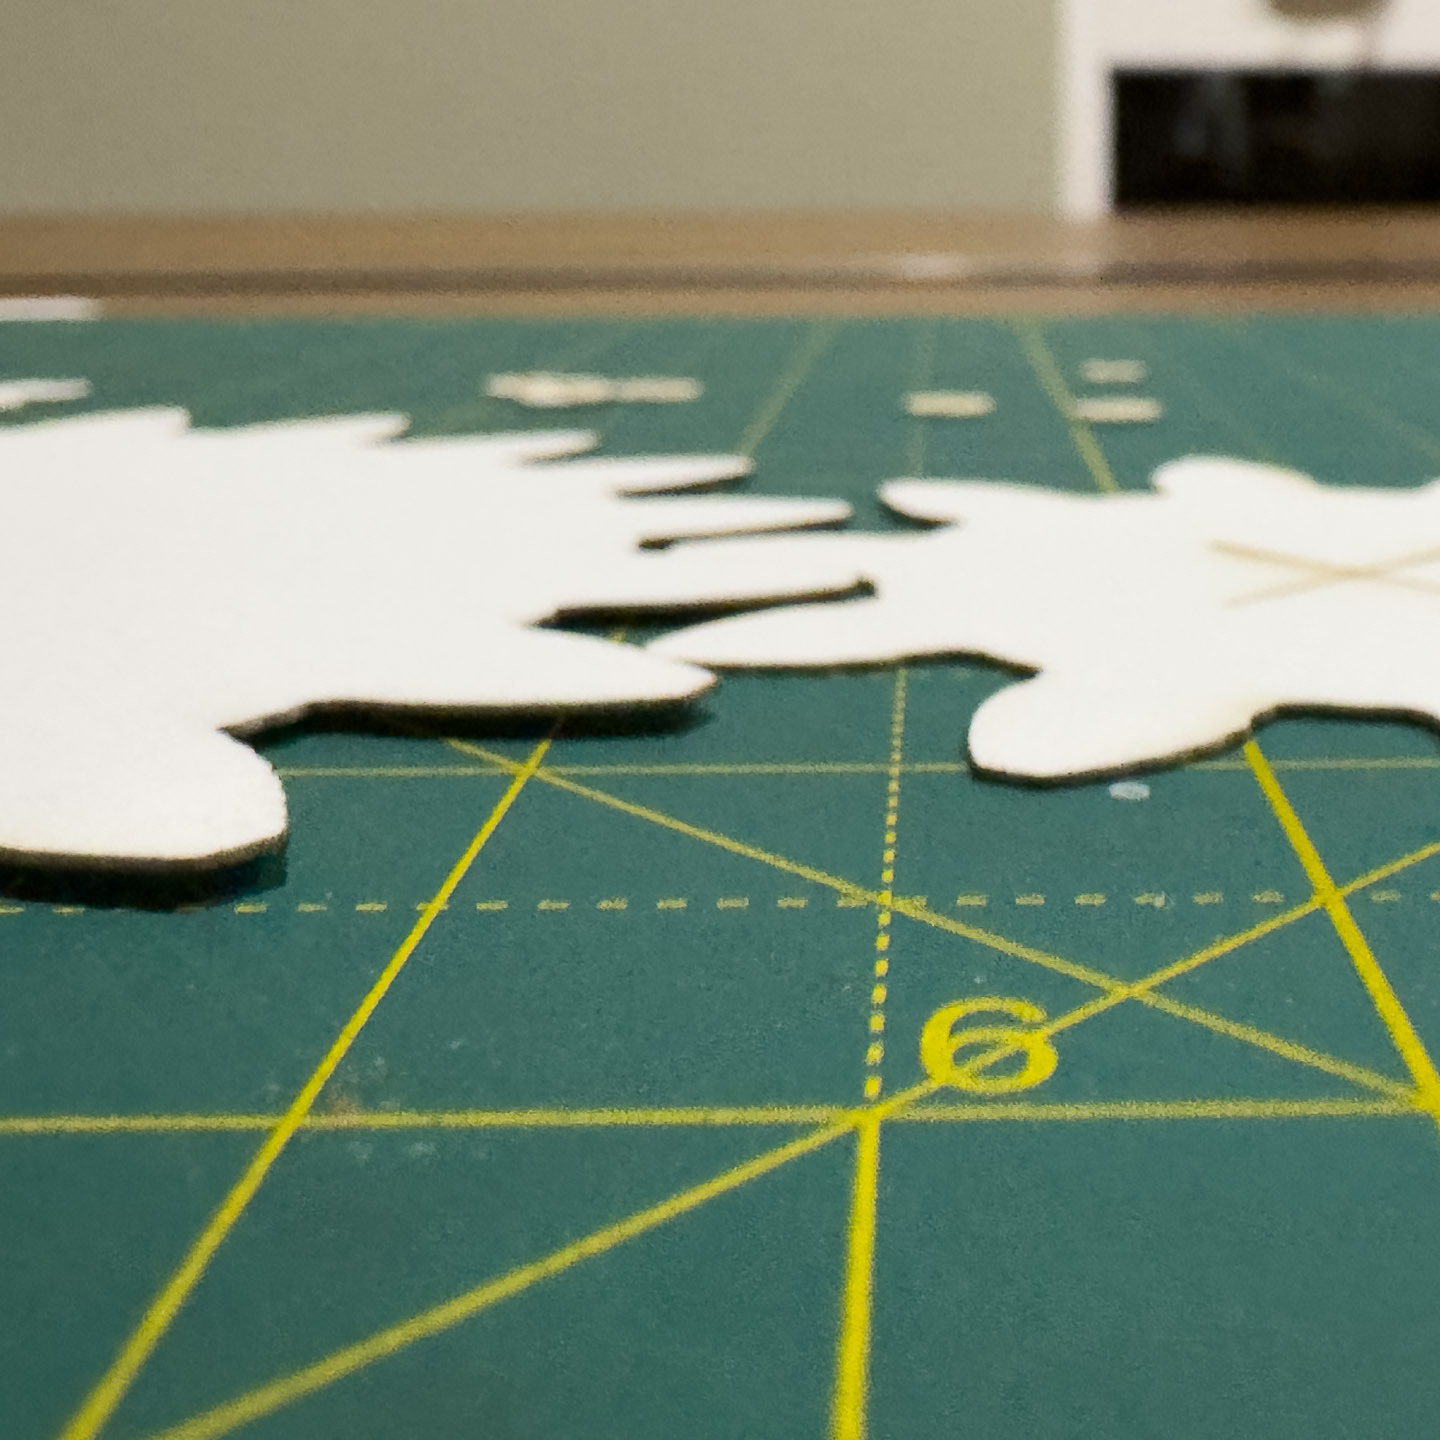
Initially, I was very nervous that this just would not work at all. Even laying the gears out on the cutting pad, it was clear they were warping enough to make the teeth striking an issue. This isn’t the best picture, but it’s clear that one gear is not at the same z-level as the other.
However, once everything was put together, the top axle mount / strap had enough weight to mostly keep the gears in place.
In the end, this worked. I’m going to explore this a bit further. I have a few ideas about how to make them mesh together better. I also want to see how small these can be made and still be workable.
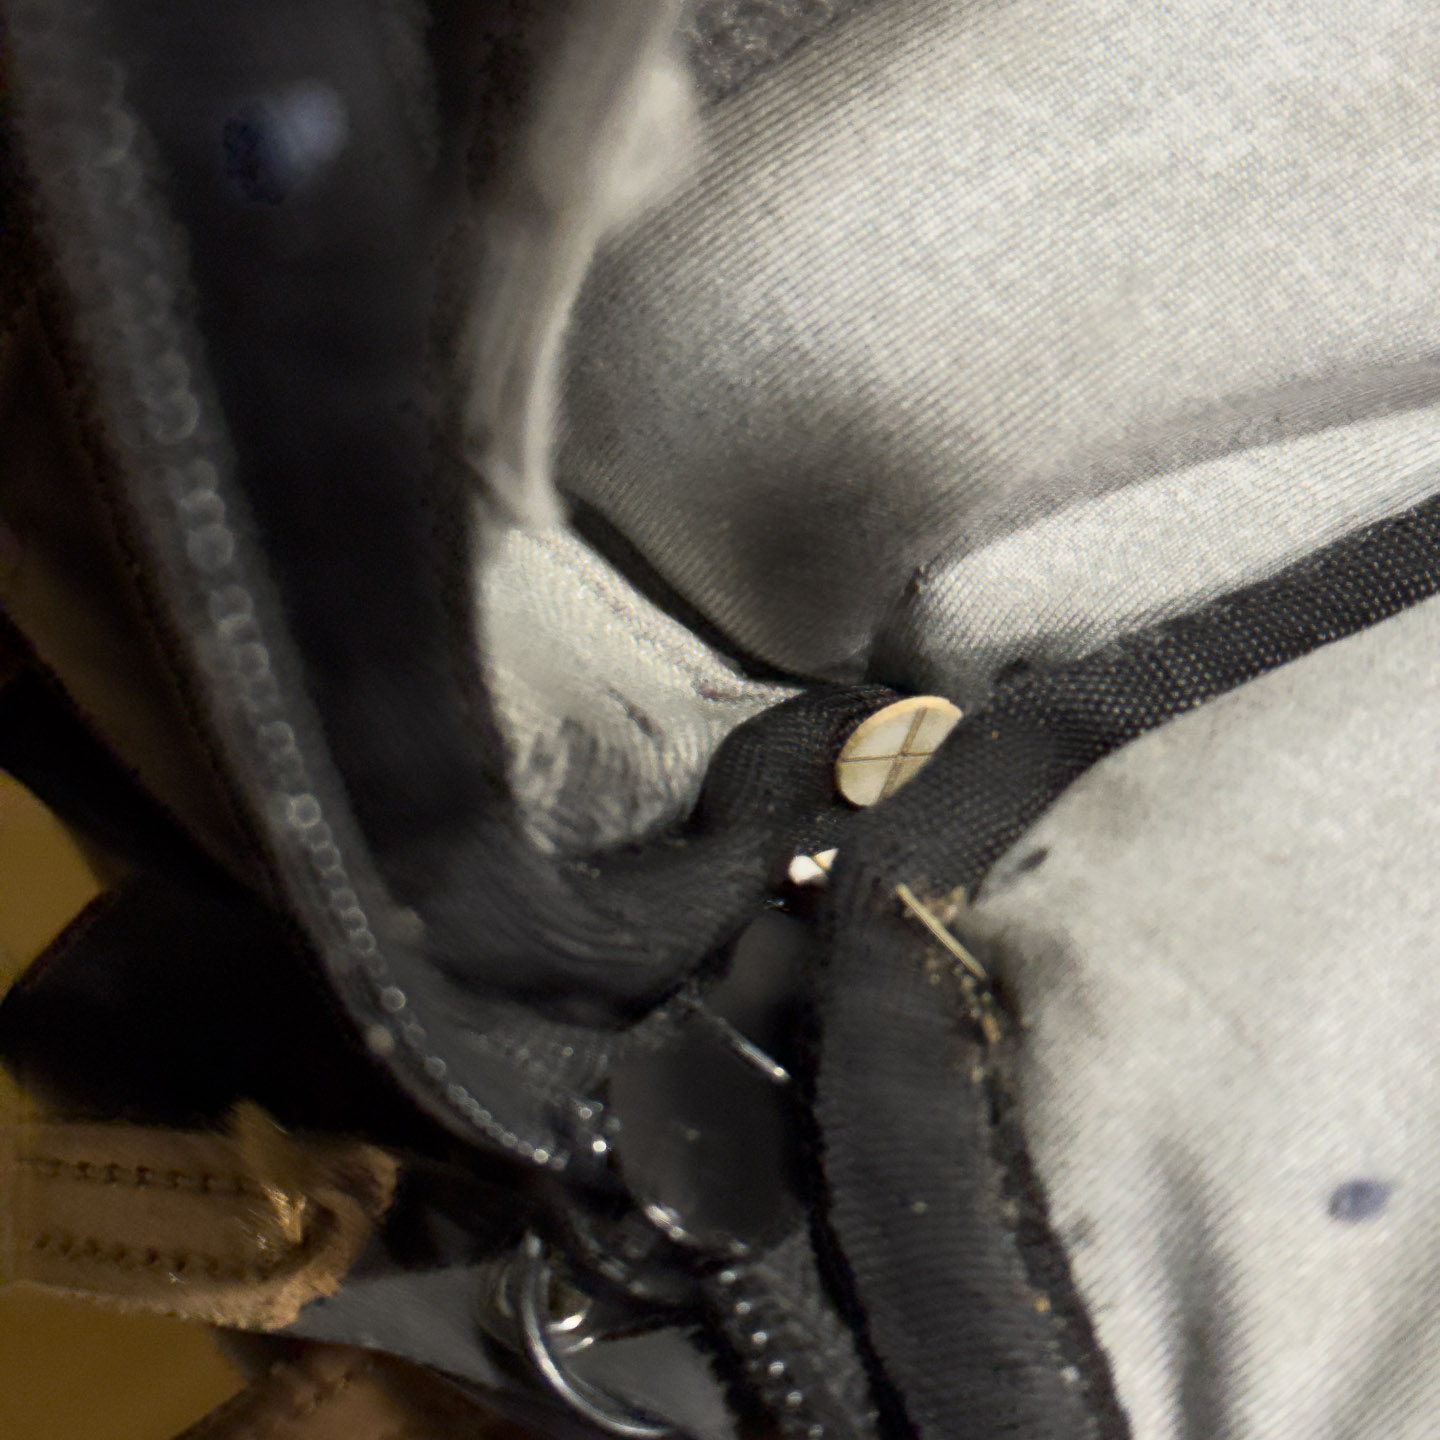
Finally, the paper axles are finicky. The laser cutter really wants to suck them up into the air handling, not to mention hiding in your bags
-
At least on MacOS, I cannot recoomend Inkscape. It crashes far too regularly (e.g. when you try to paste an object), and doesn’t have the level of editing capabilities that I thought. I’m probably going to break down and add Adobe Illustrator to my existing Adobe account. ↩
-
I still have not figured out if there is a proper name for “the place in a frame where axles end.” It seems like there should be but my google-fu is failing me. ↩